


35 Basic Tutorials to Get You Started with Photoshop
Adobe Photoshop is a very powerful and versatile image editing/graphics creation application that is the
industry standard in its category. Though Photoshop’s interface is
intuitive enough for an absolute beginner to learn basic image editing
tasks such as cropping and resizing, to be able to fully master and
utilize all of its tools takes a considerable amount of time.
If you’re interested in honing your Photoshop skills to create spectacular compositions, this is for you. In this article, you’ll find 35 basic Photoshop tutorials for getting started with Photoshop.
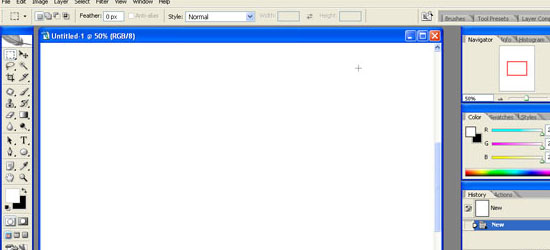
If you’ve never had any experience with Photoshop, this tutorial from SitePoint will get you up to speed with Photoshop’s basic features.
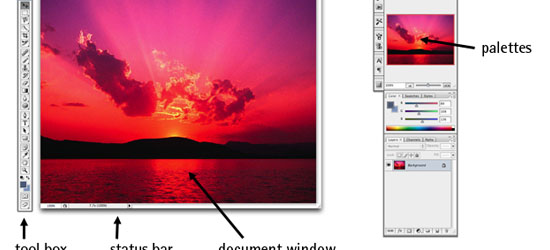
This tutorial outlines Photoshop CS2′s interface. Even if you use an earlier or later version of Photoshop, this tutorial is still helpful in familiarizing yourself with how Photoshop – in general – is laid out.
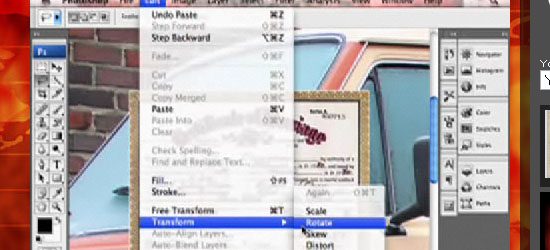
This wildly popular and humorous screencast on Photoshop techniques by (probably) fictional character Donnie Hoyle is an excellent Photoshop series to follow if you like laughing and learning at the same time!
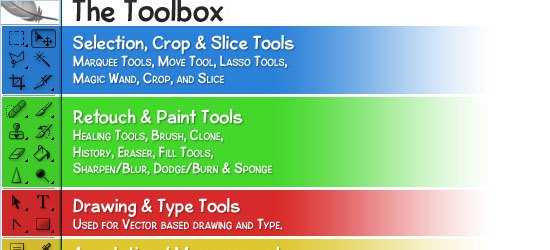
This tutorial goes over the anatomy of Photoshop’s Toolbox.
Photoshop has a host of tools and options for retouching and correcting images. This tutorial goes over the tools at your disposal and what situations each tool excels in.
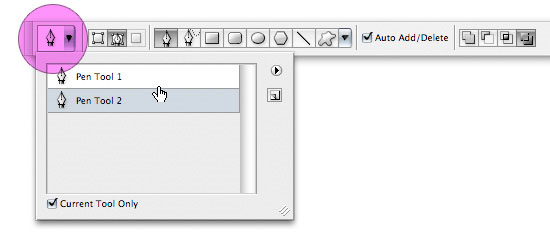
Photoshop’s Pen tool gives you the ability to draw objects in a vector-like fashion. This thorough tutorial even comes with a practice sheet that will help you master the concepts of working with the Pen tool.
Photoshop’s Painting tools allow you to draw and fill in objects with colors and color gradients. This tutorial showcases Photoshop’s painting capabilities.
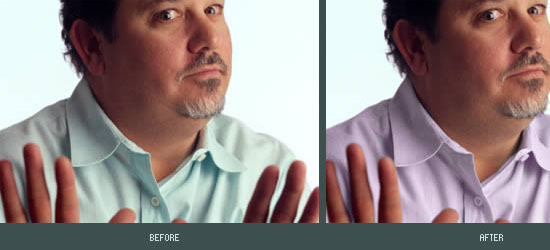
Sometimes you want to replace certain colors in an image. With the Color Replacement tool – you can specify which colors you’d like to change and Photoshop will automatically replace them for you. This tutorial goes through the color replacement process and discusses all the things you need to know about the Color Replacement tool.
One of the fundamental skills to learn in Photoshop is the art of masking (isolating certain parts of a composition). This comprehensive tutorial goes over the Layer Masking features of Photoshop.

There are different methods of masking objects in your Photoshop composition. This tutorial goes over the basic masking tools available to you.

Layer Styles are the effects and options you apply to a particular layer. This tutorial discusses the concept of Layer Styles and how to utilize them in your Photoshop documents.
Bevel and Emboss is a particular Layer Style. There are many options you can tweak and change (such as the shading and the angle of light); this tutorial goes over what each option does.

Drop Shadow is another Photoshop Layer Style that applies a silhouette to the objects in a layer. In this tutorial, you’ll learn about the different options and settings of the Drop Shadow Layer Style.
In this video tutorial, you’ll learn about the different Blending Modes available at your disposal.

Photoshop filters are simply effects applied to your image (much like the concept of using photographic lens filters). For example, the Blur filter unsharpens the focus of your images. This tutorial goes over the Filters interface in Photoshop.

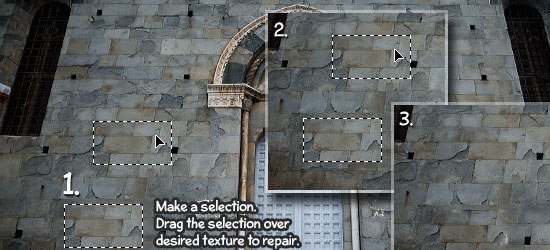
This tutorial goes over some excellent uses of the Clone Stamp tool in Photoshop.
Master the Vanishing Point filter (a Photoshop filter that adjusts the image’s perspective) with this excellent Photoshop tutorial.
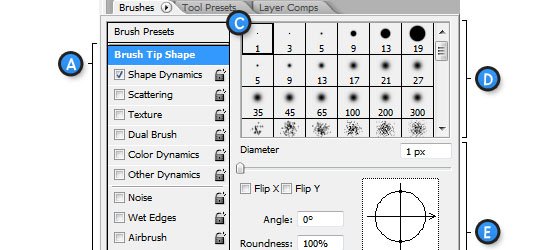
The Brush tool is a versatile drawing feature of Photoshop the mimics different art brushes and styles like water coloring, oil painting, or charcoal painting. This tutorial covers some of the best features of the Brush Tool in Photoshop.

This tutorial goes over the usage of the Background Eraser tool in Photoshop.
In order to become a Photoshop master, you’ll need to understand how to select different sections and objects in your composition. This guide goes over some techniques you can use to selectively isolate certain objects or groups of objects.
You’ll often need to sharpen photos for image correction. In this video tutorial, you’ll learn about various sharpening techniques.

One of the most powerful features of Photoshop is its ability to save compositions in a variety of web formats. This tutorial explains the different options and settings of saving images for the web.
23. Create Your Own Custom Shapes in Photoshop
Custom Shapes are reusable objects in Photoshop. It gets stored in a library and you can access them later on from another Photoshop document. In this tutorial, you’ll learn how to create, import, and save your own custom shapes.
Smart Objects are instantiated objects – that is, you can create multiple instances of a source object and make a change to an instance of that object while still keeping the original object intact. This tutorial goes over how to use Smart Objects.

You can use a Pen tablet (an input device that lets you draw images directly into an image editor) over a mouse to create more accurate drawings by hand. This tutorial shows you the basic concepts behind utilizing a Pen Tablet to supplement your workflow.
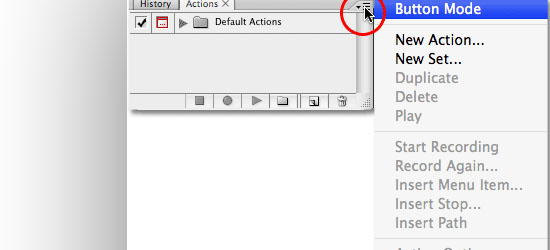
An Action is a sequence of Photoshop tasks that you can repeat and reuse. For example, if you find yourself constantly resizing images to 550 pixels in width and then saving them in PNG file format, you can record a Photoshop Action that will apply these settings automatically. This excellent tutorial covers the basics of creating and using Photoshop Actions.
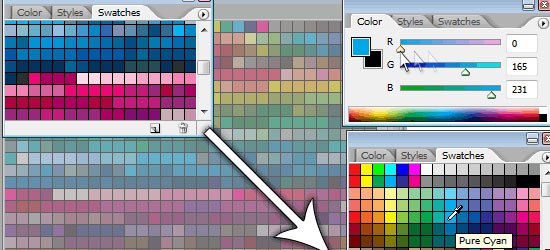
Palettes are sets of tools and options that help you organize Photoshop’s interface. In this tutorial, you’ll get a great primer on how to take advantage of using Palettes.
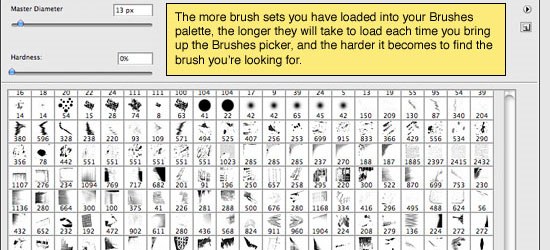
You can install pre-made brushes (instead of creating your own) in Photoshop as well as save important settings for future use. This tutorial will show you how to work with brushes and other Photoshop presets.
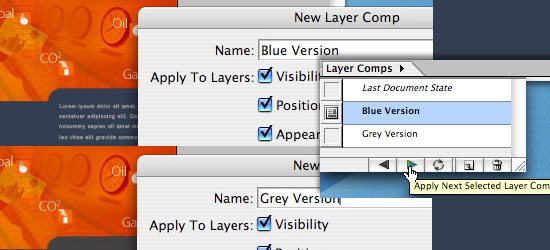
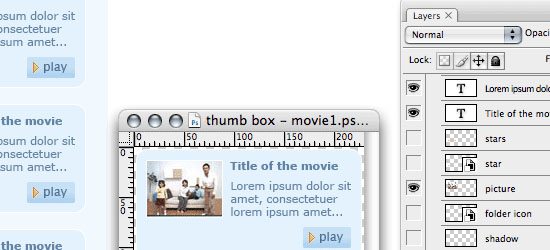
A Layer Comp is a version of your composition that you can switch back and forth to. Learn a little about an actual use of Layer Comps.

Shortcuts enable greatly increases your efficiency. In this excellent tutorial, you’ll learn about some of the lesser-known but tremendously useful Photoshop shortcuts.
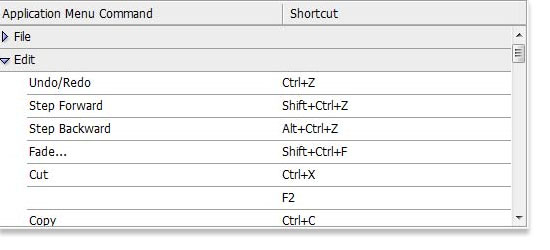
If you don’t like the preset keyboard shortcuts the Photoshop comes with out of the box, this tutorial will show you how to change and manage your Photoshop shortcuts.
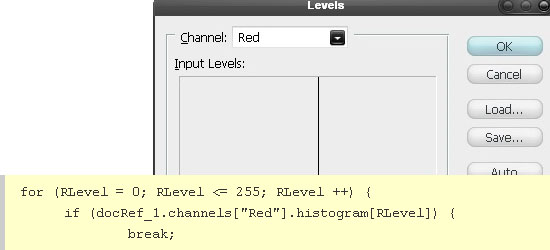
Scripting allows you to automate and extend Photoshop’s features by authoring your own code. Learn about Photoshop Scripting with this tutorial that uses image manipulation as a working example.
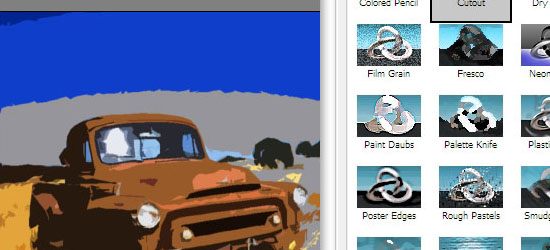
Learn to use Photoshop Filters to transform a photo into an illustration.

Learn to create seamless textures in Photoshop.
This tutorial goes over a technique for creating simple organic shapes using several Photoshop tools and techniques such as the Shape Tool and Gradient Masks.
Source: http://sixrevisions.com/graphics-design/35-basic-tutorials-to-get-you-started-with-photoshop/ Read more
If you’re interested in honing your Photoshop skills to create spectacular compositions, this is for you. In this article, you’ll find 35 basic Photoshop tutorials for getting started with Photoshop.
General tutorials
1. Getting Started with Photoshop
If you’ve never had any experience with Photoshop, this tutorial from SitePoint will get you up to speed with Photoshop’s basic features.
2. Adobe Photoshop Interface Tutorial
This tutorial outlines Photoshop CS2′s interface. Even if you use an earlier or later version of Photoshop, this tutorial is still helpful in familiarizing yourself with how Photoshop – in general – is laid out.
3. You Suck at Photoshop (series)
This wildly popular and humorous screencast on Photoshop techniques by (probably) fictional character Donnie Hoyle is an excellent Photoshop series to follow if you like laughing and learning at the same time!
4. Photoshop’s Toolbox
This tutorial goes over the anatomy of Photoshop’s Toolbox.
Photoshop tools and features
5. Retouch and Healing Tools
Photoshop has a host of tools and options for retouching and correcting images. This tutorial goes over the tools at your disposal and what situations each tool excels in.
6. Photoshop’s Pen Tool: The Comprehensive Guide
Photoshop’s Pen tool gives you the ability to draw objects in a vector-like fashion. This thorough tutorial even comes with a practice sheet that will help you master the concepts of working with the Pen tool.
7. Photoshop’s Painting Tools
Photoshop’s Painting tools allow you to draw and fill in objects with colors and color gradients. This tutorial showcases Photoshop’s painting capabilities.
8. Photoshop Color Replacement Tool
Sometimes you want to replace certain colors in an image. With the Color Replacement tool – you can specify which colors you’d like to change and Photoshop will automatically replace them for you. This tutorial goes through the color replacement process and discusses all the things you need to know about the Color Replacement tool.
9. Understanding Layer Masks
One of the fundamental skills to learn in Photoshop is the art of masking (isolating certain parts of a composition). This comprehensive tutorial goes over the Layer Masking features of Photoshop.
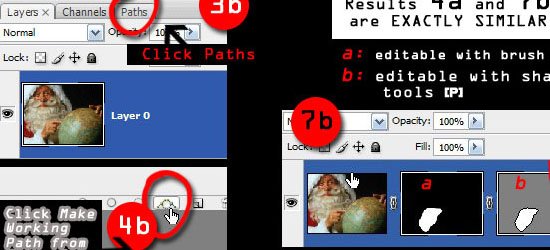
10. Photoshop’s Image Masking Tools
There are different methods of masking objects in your Photoshop composition. This tutorial goes over the basic masking tools available to you.
11. Layer Styles in Photoshop
Layer Styles are the effects and options you apply to a particular layer. This tutorial discusses the concept of Layer Styles and how to utilize them in your Photoshop documents.
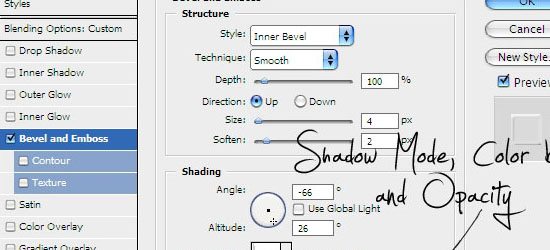
12. Understanding Bevel and Emboss
Bevel and Emboss is a particular Layer Style. There are many options you can tweak and change (such as the shading and the angle of light); this tutorial goes over what each option does.
13. Understanding Drop Shadows
Drop Shadow is another Photoshop Layer Style that applies a silhouette to the objects in a layer. In this tutorial, you’ll learn about the different options and settings of the Drop Shadow Layer Style.
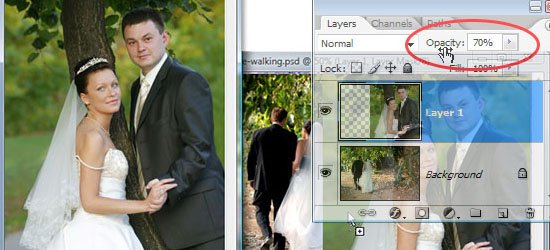
14. Introduction to Blending Modes
In this video tutorial, you’ll learn about the different Blending Modes available at your disposal.
15. Photoshop’s Filters
Photoshop filters are simply effects applied to your image (much like the concept of using photographic lens filters). For example, the Blur filter unsharpens the focus of your images. This tutorial goes over the Filters interface in Photoshop.
16. Useful Applications for the Clone Stamp Tool
This tutorial goes over some excellent uses of the Clone Stamp tool in Photoshop.
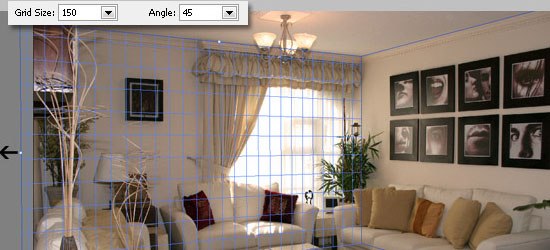
17. Getting to Grips with the Vanishing Point Filter
Master the Vanishing Point filter (a Photoshop filter that adjusts the image’s perspective) with this excellent Photoshop tutorial.
18. The Hidden Power of Photoshop Brush Tool
The Brush tool is a versatile drawing feature of Photoshop the mimics different art brushes and styles like water coloring, oil painting, or charcoal painting. This tutorial covers some of the best features of the Brush Tool in Photoshop.
19. "Background Eraser Tool" is the new Magic Wand
This tutorial goes over the usage of the Background Eraser tool in Photoshop.
Common tasks and techniques
20. A Comprehensive Introduction to Photoshop Selection Techniques
In order to become a Photoshop master, you’ll need to understand how to select different sections and objects in your composition. This guide goes over some techniques you can use to selectively isolate certain objects or groups of objects.
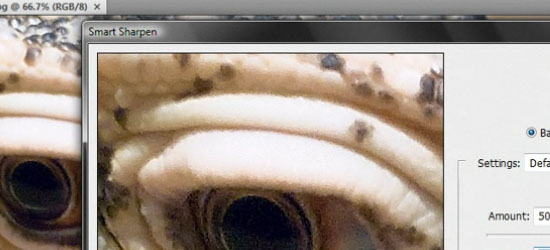
21. Sharpening the Details
You’ll often need to sharpen photos for image correction. In this video tutorial, you’ll learn about various sharpening techniques.
22. Saving Images for the Web
One of the most powerful features of Photoshop is its ability to save compositions in a variety of web formats. This tutorial explains the different options and settings of saving images for the web.
23. Create Your Own Custom Shapes in Photoshop
Custom Shapes are reusable objects in Photoshop. It gets stored in a library and you can access them later on from another Photoshop document. In this tutorial, you’ll learn how to create, import, and save your own custom shapes.
24. Photoshop Smart Objects, smart but not always that smart
Smart Objects are instantiated objects – that is, you can create multiple instances of a source object and make a change to an instance of that object while still keeping the original object intact. This tutorial goes over how to use Smart Objects.
Enhancing your workflow and efficiency
25. Using Pen Tablets in Photoshop
You can use a Pen tablet (an input device that lets you draw images directly into an image editor) over a mouse to create more accurate drawings by hand. This tutorial shows you the basic concepts behind utilizing a Pen Tablet to supplement your workflow.
26. Automating Photoshop with Actions
An Action is a sequence of Photoshop tasks that you can repeat and reuse. For example, if you find yourself constantly resizing images to 550 pixels in width and then saving them in PNG file format, you can record a Photoshop Action that will apply these settings automatically. This excellent tutorial covers the basics of creating and using Photoshop Actions.
27. Using Palettes in Photoshop
Palettes are sets of tools and options that help you organize Photoshop’s interface. In this tutorial, you’ll get a great primer on how to take advantage of using Palettes.
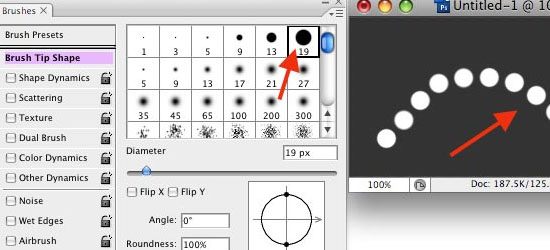
28. Installing and Managing Brushes & Other Presets
You can install pre-made brushes (instead of creating your own) in Photoshop as well as save important settings for future use. This tutorial will show you how to work with brushes and other Photoshop presets.
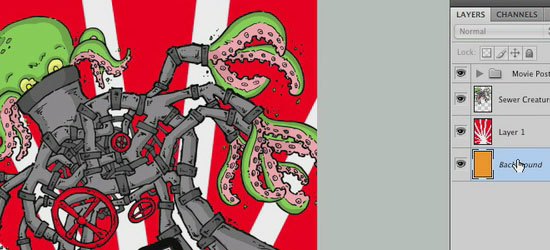
29. Layer Comps in Photoshop CS
A Layer Comp is a version of your composition that you can switch back and forth to. Learn a little about an actual use of Layer Comps.
30. Photoshop Secret Shortcuts
Shortcuts enable greatly increases your efficiency. In this excellent tutorial, you’ll learn about some of the lesser-known but tremendously useful Photoshop shortcuts.
31. Manage your shortcuts in Photoshop
If you don’t like the preset keyboard shortcuts the Photoshop comes with out of the box, this tutorial will show you how to change and manage your Photoshop shortcuts.
Learning by doing
32. Manipulate an Image with Scripting
Scripting allows you to automate and extend Photoshop’s features by authoring your own code. Learn about Photoshop Scripting with this tutorial that uses image manipulation as a working example.
33. Use Photoshop’s Filters to Make Simple Illustrations
Learn to use Photoshop Filters to transform a photo into an illustration.
34. Custom made Seamless Texture Tutorial
Learn to create seamless textures in Photoshop.
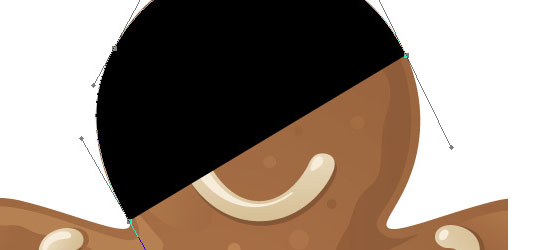
35. Simple organic shapes in Photoshop
This tutorial goes over a technique for creating simple organic shapes using several Photoshop tools and techniques such as the Shape Tool and Gradient Masks.
Source: http://sixrevisions.com/graphics-design/35-basic-tutorials-to-get-you-started-with-photoshop/ Read more


